


This guide shows you how to install and use the Jbi4Corba netbeans plugin. To see the plugin in action, watch the demo (notice that this demo refers to the 0.5 version of the plugin).
With this plugin you can create the WSDL from an IDL to use as provider or a consumer. The role depends on how the JBI Composite Application is build. You can use this WSDL (also) in a BPEL editor. To know how to use the most advanced features in the GlassFishESB BPEL designer, see the Dynamic Interfaces documentation and the Any Type documentation.
With the Jbi4Corba Netbeans plugin, you can create a WSDL file starting from a CORBA Interface Definition language (IDL) file. Now, the NetBeans plugin, generates the WSDL file that import the abstract definition of XML Schema in the separated xsd file. If you select a file with extension idl and IDL, the Jbi4Corba plugin is automatically activated.
In addition, you can also modify a WSDL file adding a binding to the Jbi4Corba component, so the WSDL will be suitable to be deployed inside a JBI service unit. This feature is available using the NetBeans WSDL editor.
The plugin is tested with NetBeans IDE 6.1 included in GlassFishESB distribution.
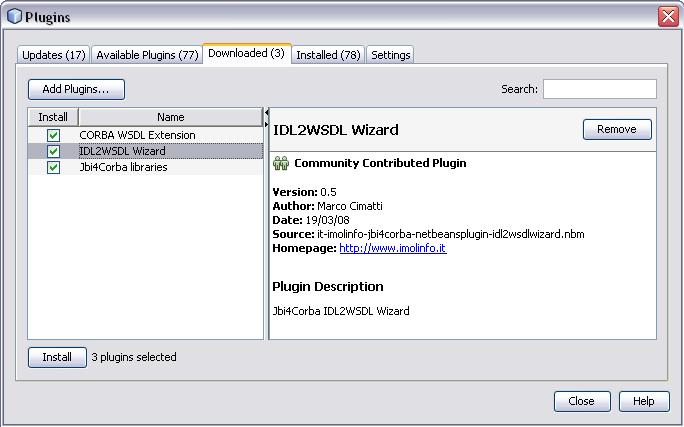
To install the plugin, follow these steps:
After the plugin installation, you are ready to create a new WSDL from a CORBA IDL interface. You can use this WSDL to integrate the component in Composite Applications. For example, you can add the servant as a partner-link in a BPEL process.
To create the WSDL, select an IDL file.

Now, Right-click the IDL file and select Create WSDL.

The Jbi4Corba wizard now should appear asking you about some configuration data that must be specified.

The first operation for the WSDL creation is the Interfaces selection (at least one interface must be selected). Notice that one WSDL for each interface will be created.

When one interface is selected, it's possible to configure the interface options:

The Connect to CORBA Servant at deploy Time allows to specify if the Servant that implements the interface selected must be bound to a CORBA servant at deploy time. See also the Dynamic Interfaces documentation about that. When this option is enabled you must specify the following information regarding the location of the CORBA servant:
In addition to the informations required for the Servant Binding you need to specify how to locate the CORBA servant in the ORB properties dialog. By default the plugin selects the Glassfish ORB, but it's possible to set alternative ORBs as JDK Orb or Custom ORB.

If you need to add custom ORB properties you can do that using the Add Row button and specifying the property name and value.
To generate the WSDLs, all the configuration for each interface selected must be valid. When all interfaces selected are valid, click Finish to create the WSDL File's.

Now, if you want, you can manually configure the component. See the User Guide section to know how to correctly set the Jbi4Corba addresses and binding.